It’s a special “Behind The Scenes” of Checkered – figma Black Rock Shooter!
Oh the excitement! XDD
If you haven’t already seen the post on figma Black Rock Shooter, I suggest you go check it out first.
As mentioned previously, the shoot was in some ways an experiment of sorts for my new flash attachment and a way to try out some flash photography.
Although I have always been doing my reviews with a back drop, I’ve always had to shoot in the day because I do not have any lamps to provide directional light at night to eliminate shadows. Even then, my day shots at home have been less than desirable sometimes. So, I have always preferred to shoot outdoors where light is usually better.
In this case however, given BRS’s light/dark high contrast depiction in most works, I decided to try doing a shoot at night with my flash unit to see if I can derive the same effect.
And so comes this.
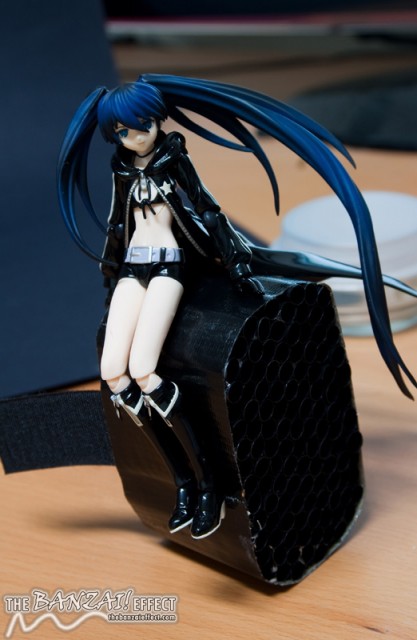
So what is it?
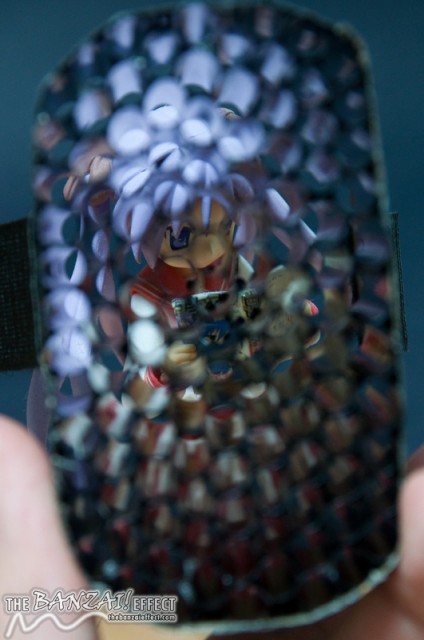
Some would know it to be a honeycomb grid. It functions to focus your light into narrow beam for creative purposes.
Depending on the length and the size of the “cells” of the honeycomb, you can control the “narrowness” of the beam of light.
All it takes it black straws, some cloth tape, plenty of glue, and a little velcro and wah la!
It doesn’t sound like much but having a mobile spotlight rather than an actual spotlight or table lamp can be advantageous, especially out on the field.
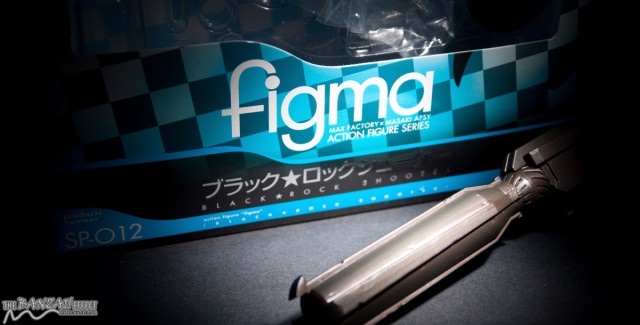
In case you haven’t noticed, this attachment was used to shoot the very first picture in this post.
But perhaps you need a better example of what it can do.
Given the size of most figurines, I’d say it is a very handy tool to have for creative lighting.
Credits go to here for providing the tutorial on how to make one.
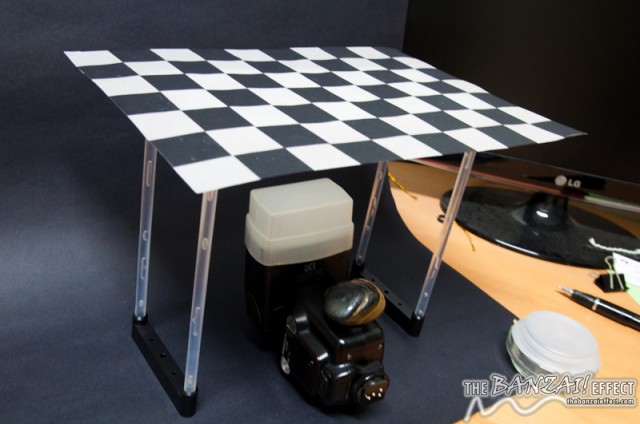
And as for the other iconic theme in my shots, that would be the checkered floor and backgrounds.
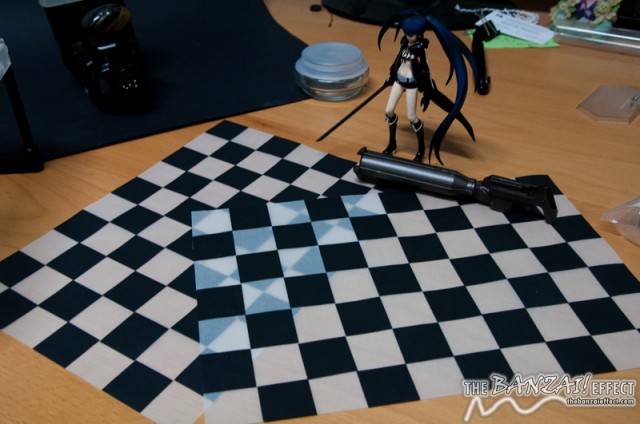
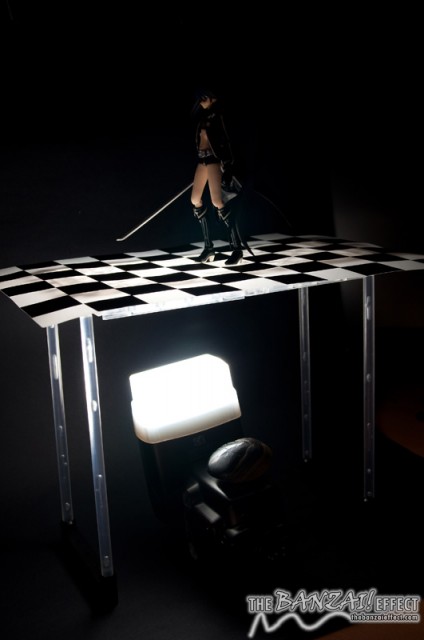
Effectively made from tracing paper and black paper, it allows light to be shone from behind for that “glowing wall” effect.
And this is one of those rare moments when the di:stages I bought come into use, in this case the transparent di:stages.
Just simply set a flash unit below a di:stage platform and place the checkered tracing paper above it.
Of course, a constant light source such as a lamp or something works just fine.
Like so.
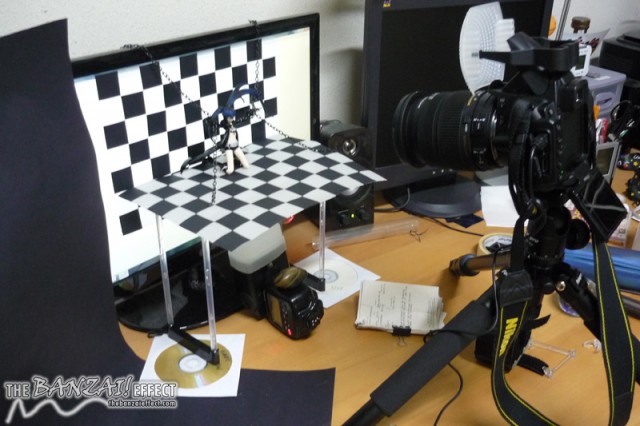
As for the checkered background, simply mount the paper up and shine a lamp through it.
Though for my case, since i don’t have a lamp, I simply stuck it on my LCD monitor and harnessed its retina burning gamma radiation instead.
Whatever works man. =D
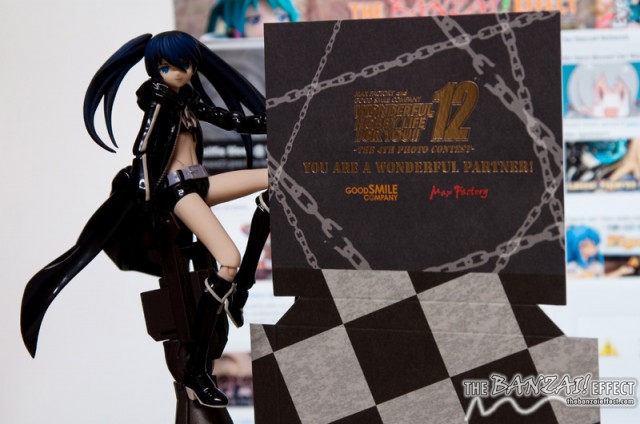
In other news, Good Smile Company was nice to send me a letter containing a di:stage diorama for participating in their photo contest.
Sort of their way of saying “You failed but thanks for participating”.
My photo pretty much bombed though it was to be expected I guess. It was my best at that time but it certainly wasn’t the best.
If there is another contest, I think I would have better pictures this time =3
And to close this post, a little something I never thought I would be able to do.
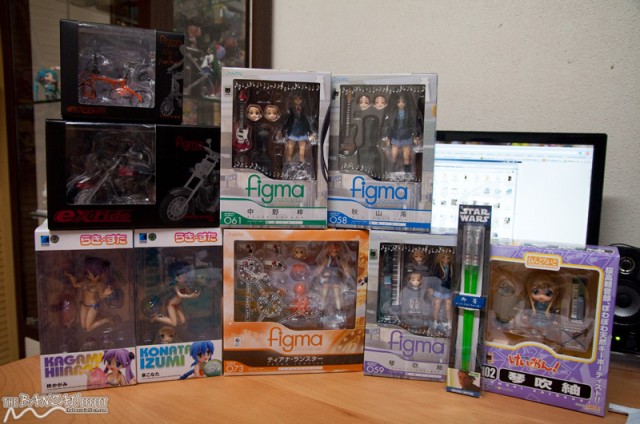
Events (release delays etc etc) have conspired to result in a massive offloading of figurines on me, something I never dreamed would happen to me in a single day given my rather controlled buying habits.
All I can say is, stay tuned for more posts? =D






Di:stages seem really useful in lots of situations. Wow lots of loot! I want Mugi nendo and Lucky star beach queens set. Glowing floor was a really neat effect.
Great behind the scenes into how you took those shots for your figma BRS review ^^! I really like the effect you got with the tracing paper for the wall and floors. Need to make myself one of those straw snoots one of these days -_-;;